How We Prep a Home Before Painting (Step by Step)
If you want a paint job that looks great and lasts, prep work is everything. Most paint failures don’t happen because of the paint — they happen because the surface underneath wasn’t properly cleaned, repaired, or sealed. Here’s exactly how we prep a home so the finish comes out smooth, professional, and durable.
Step 1: Walkthrough + Surface Inspection
We start by looking for anything that will affect adhesion or appearance, like:
- Peeling or cracking paint
- Soft/rotted wood or damaged trim
- Caulk gaps around windows/doors
- Water stains, mildew, or algae
- Hairline cracks and failing joints
This step helps us plan repairs before we start painting, so nothing gets missed.
Step 2: Protect the Property
Before any sanding, scraping, or spraying, we protect what matters:
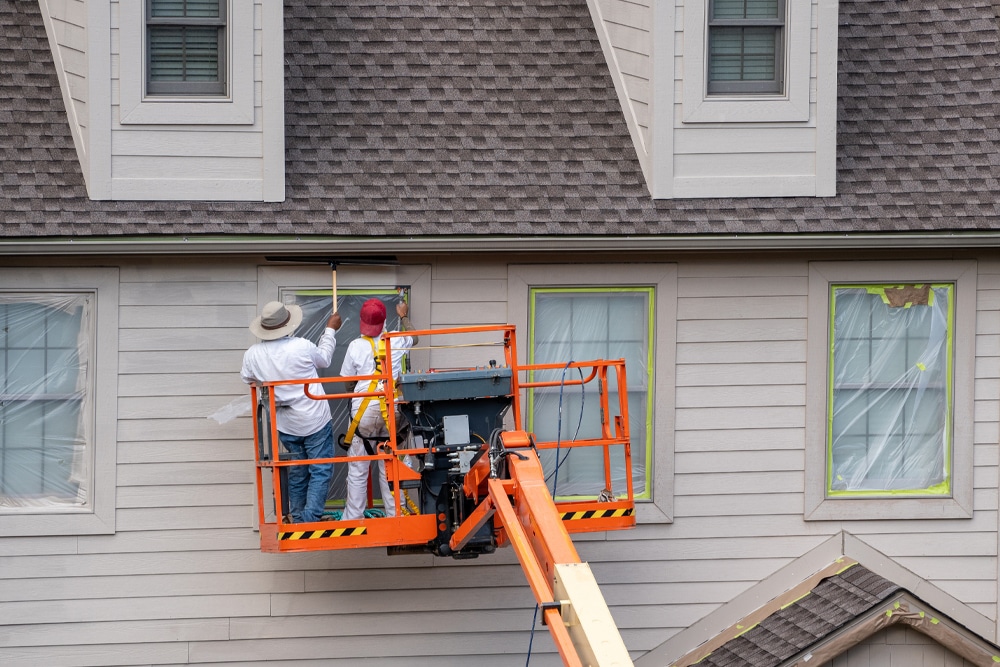
- Masking off windows, fixtures, brick, and stone
- Covering landscaping, walkways, and decks
- Moving/covering furniture (interior work)
- Setting up a clean work zone to reduce dust and mess
A clean job site is part of a professional job.
Step 3: Deep Cleaning (So Paint Actually Sticks)
Paint won’t bond to dirt, chalk, mildew, or oily residue. We clean surfaces so the new coating can grab and hold.
- Exteriors: washing to remove grime, mildew, and chalking
- Interiors: degreasing kitchens/baths, wiping down dust and residue
Then we let everything dry fully—especially important in the PNW.
Step 4: Scrape Loose Paint + Remove Failures
If paint is peeling or bubbling, it has already lost adhesion. Painting over it is a guaranteed failure.
- Scrape off loose paint
- Remove flaking edges
- Feather out transitions so the repair won’t “telegraph” through the finish
Step 5: Sand for Smoothness + Adhesion
Sanding isn’t just about looks — it also helps paint bond better.
- Smooth rough patches and scraped areas
- Scuff glossy surfaces so primer/paint can grip
- Blend repairs for a clean, even finish
This is one of the biggest differences between a quick paint job and a lasting one.
Step 6: Repairs (Wood, Drywall, and Surface Damage)
This is where the “paint makeover” really happens.
- Fill cracks, nail holes, and dents
- Patch drywall (and texture-match when needed)
- Repair minor wood damage / replace rotted sections when necessary
- Address damaged trim corners and joints
Painting doesn’t hide bad surfaces — it highlights them. We fix them first.
Step 7: Caulking + Sealing Gaps
Caulk is what stops water and air from sneaking into joints and cracks.
We seal:
- Around windows and doors
- Trim joints and seams
- Small siding gaps (where appropriate)
This step helps prevent moisture intrusion and improves the finished look.
Step 8: Prime Bare Spots + Stains
Primer is the bridge between the surface and the finish coat.
We prime:
- Bare wood or exposed drywall
- Water stains and patched areas
- High-risk areas where peeling occurred
- Any surface that needs better bonding
Skipping primer is one of the fastest ways to get flashing, uneven sheen, or peeling later.
Step 9: Final Dust-Off + Detail Check
Before painting starts, we do a final pass:
- Remove sanding dust
- Check repairs under good lighting
- Confirm edges are sharp and surfaces are smooth
- Make sure everything is fully dry and ready
This is the quality-control moment that keeps small issues from becoming big ones.
Step 10: Paint Application (Only After Prep is Right)
Now the surface is ready for paint to perform properly.
We apply:
- The correct product for the surface (interior vs. exterior)
- Even, consistent coats for uniform color and sheen
- Proper dry time between coats for durability
Why This Prep Process Matters
Great prep work means:
- Better adhesion (less peeling and flaking)
- Smoother walls and cleaner lines
- Longer-lasting results in PNW moisture
- A finish that looks “high-end,” not rushed
If you want paint that still looks great years later, it starts with prep—not shortcuts.